Few weeks back me finally got my hands over the newest
version of Raspberry Pi (i.e. Raspberry Pi 3 Model B). Very excited about it !!
A bit about the Raspberry Pi:
It’s been over four years from 29 February 2012 when the
first Raspberry Pi was launched and has been a great success ever since.
Raspberry Pi is a small just about a Credit Card sized computer that is without a Keyboard, Mouse and Display.
Raspberry Pi is a small just about a Credit Card sized computer that is without a Keyboard, Mouse and Display.
Hardware Specification
RPi
3 is the third generation Raspberry Pi. New Features from its predecessor:
- A 1.2GHz 64-bit quad-core ARMv8 CPU
- 802.11n Wireless LAN
- Bluetooth 4.1
- Bluetooth Low Energy (BLE)
Like
the Pi 2, it also has:
- 1GB RAM
- 4 USB ports
- 40 GPIO pins
- Full HDMI port
- Ethernet port
- Combined 3.5mm audio jack and composite video
- Camera interface (CSI)
- Display interface (DSI)
- Micro SD card slot (now push-pull rather than push-push)
- VideoCore IV 3D graphics core
The new
RPi 3 has an identical form factor to the previous Pi 2 (and Pi 1 Model B+) and
has complete compatibility with Raspberry Pi 1 and 2.
The RPi works with a variety of operating systems and the one that is from the OEM is the OS called Raspberian it’s a Derbin Flavour of Linux (Add more details of OS)
- Raspberian
- Ubuntu
- Windows 10 IoT
Unboxing
I have ordered mine from the Pi Hut but you can get yours
from your from quite a few retailers like element14, Amazon or Pi Hut
Ordered the Raspberry Pi 3 Starter Kit that comes with a few
basic accessories which costs around GBP 50 (considering I ordered on the
during the 1st week of the launch)
- The Box that I received it in.
 |
| RPi and SD Card |
 |
| Raspberry Pi 3 |
 |
| Case for Raspberry Pi |
 |
| The official power supply with multiple connectors |
Plugging IN
Good now we have all what we need, lets plug in and power up.
Plugging in fairly simple and string forward
Plugging in fairly simple and string forward
- Connecting the Raspberry Pi to external monitor via HDMI
- Connected USB Keyboard and Mouse (on the bottom left of the screen two USBs)
Since my monitor doesn't support HDMI directly hence the convertor.

Power Connected
(once connected you can see the red led lit up)

As the SD Card that was shipped with the starter kid has NOOB per-installed


We will Installing "Raspbian", select "Raspbian" and press "OK"

As soon as you press "Ok", you will get the Waring below, which is a required inorder to proceed so press "Yes" to accept that the existing data will be overwritten.

Once the installation starts we will see the screen similar to the ones below.


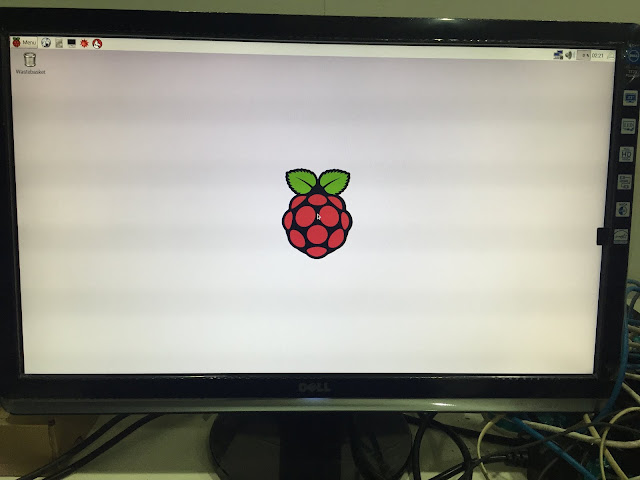
Congratulations you now have Raspbian 1.8 Installed and
running on your RPi

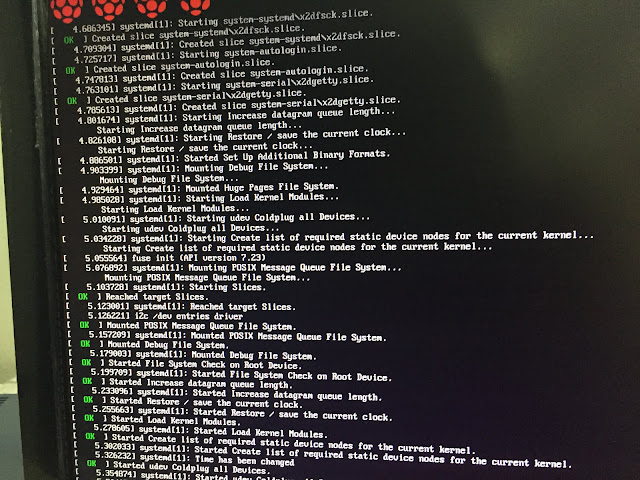
After pressing "OK" Raspbian will start booting.


That's the end of our Blog post. I will be posting more on some basic stuff to go forward.
Please feel free to reach me in case of any Question or Comment as your like. Would love to hear what you think about this.


