Sunday, 31 July 2016

Raspberry Pi 3 – The Unboxing and First Time Installation


Few weeks back me finally got my hands over the newest version of Raspberry Pi (i.e. Raspberry Pi 3 Model B). Very excited about it !!

A bit about the Raspberry Pi:

It’s been over four years from 29 February 2012 when the first Raspberry Pi was launched and has been a great success ever since.
Raspberry Pi is a small just about a Credit Card sized computer that is without a Keyboard, Mouse and Display.

Hardware Specification

RPi 3 is the third generation Raspberry Pi. New Features from its predecessor:
  • A 1.2GHz 64-bit quad-core ARMv8 CPU
  • 802.11n Wireless LAN
  • Bluetooth 4.1
  • Bluetooth Low Energy (BLE)
Like the Pi 2, it also has:
  • 1GB RAM
  • 4 USB ports
  • 40 GPIO pins
  • Full HDMI port
  • Ethernet port
  • Combined 3.5mm audio jack and composite video
  • Camera interface (CSI)
  • Display interface (DSI)
  • Micro SD card slot (now push-pull rather than push-push)
  • VideoCore IV 3D graphics core
The new RPi 3 has an identical form factor to the previous Pi 2 (and Pi 1 Model B+) and has complete compatibility with Raspberry Pi 1 and 2.

The RPi works with a variety of operating systems and the one that is from the OEM is the OS called Raspberian it’s a Derbin Flavour of Linux (Add more details of OS)
  • Raspberian
  • Ubuntu
  • Windows 10 IoT
You can find a list of all the options available here

Unboxing

I have ordered mine from the Pi Hut but you can get yours from your from quite a few retailers like element14, Amazon or Pi Hut
Ordered the Raspberry Pi 3 Starter Kit that comes with a few basic accessories which costs around GBP 50 (considering I ordered on the during the 1st week of the launch)


  • The Box that I received it in.
Box Opened
RPi and SD Card
Raspberry Pi 3


Case for Raspberry Pi


The official power supply with multiple connectors


Plugging IN

Good now we have all what we need, lets plug in and power up.
Plugging in fairly simple and string forward 

  • Put in the SD card
SD Card


SD Card Inserted


  • Connecting the Raspberry Pi to external monitor via HDMI


  • Connected USB Keyboard and Mouse (on the bottom left of the screen two USBs)


Since my monitor doesn't support HDMI directly hence the convertor.  


Power Connected

(once connected you can see the red led lit up)


As the SD Card that was shipped with the starter kid has NOOB per-installed


We will Installing "Raspbian", select "Raspbian" and press "OK"


As soon as you press "Ok", you will get the Waring below, which is a required inorder to proceed so press "Yes" to accept that the existing data will be overwritten.


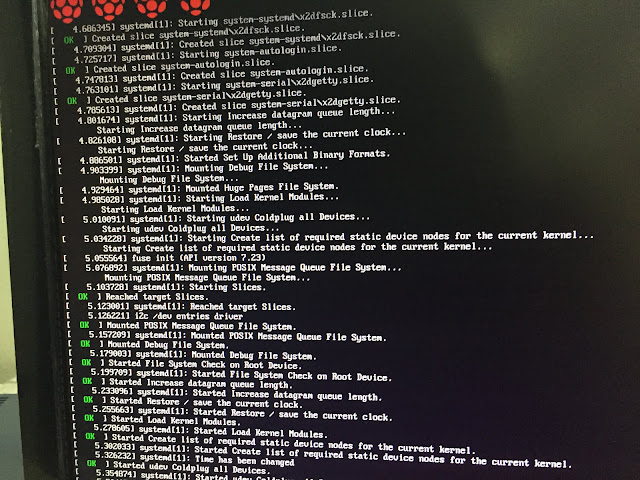
Once the installation starts we will see the screen similar to the ones below.


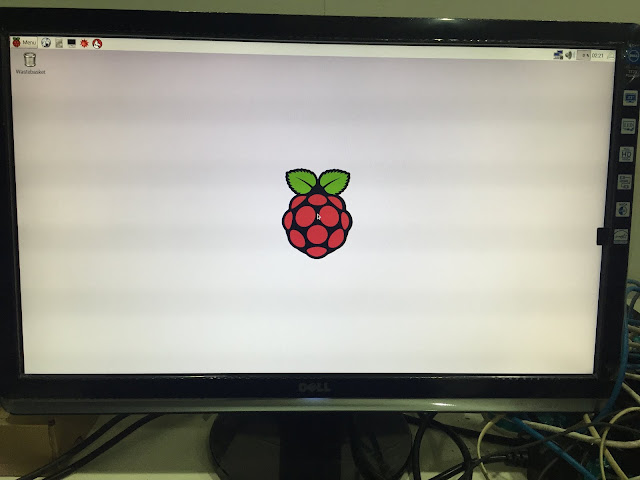
Congratulations you now have Raspbian 1.8 Installed and running on your RPi


After pressing "OK" Raspbian will start booting.


That's the end of our Blog post. I will be posting more on some basic stuff to go forward.

Please feel free to reach me in case of any Question or Comment as your like. Would love to hear what you think about this.


Friday, 30 October 2015

Genesys URS WebService Block Integration

Integrating a Simple ASP.NET SOAP Web Service with Genesys URS using the Web Services Block


Introduction
Genesys within its routing and GVP IVR provides a lot of flexibility and powerful abilities and one of them is to consume Web Services. This post will provide detailed walk through on how consume a Web Service in the Genesys Routing (URS / IRD). This post consists for three parts, first is to create a simple Web Service in ASP.NET C#. The Second part is consuming the Web Service in IRD and configuring the URS options for it. Last part is making the call and looking at the logs to see if the expected behavior is the same as we expected.


Please feel free to comment or contact me would love to hear your thoughts.

Part 1 – Creating Web Service

Once opened go to File -> New -> Web Site and create a new Web Service


Now let’s modify the function to fit our need, we will have a function that takes string as input and we will return a string array.


Next we will try to run in debug mode, just be sure if our web service works


Press “Ok” using the default option “Modify the Web.config”


Now click on the function name


Enter a Value and press Invoke to see the type of output we will be getting


Good now we have what we are looking for i.e. an Array of String.

Few Important Items to take note of when we are integrating with URS
We will be using the highlighted in Part 2


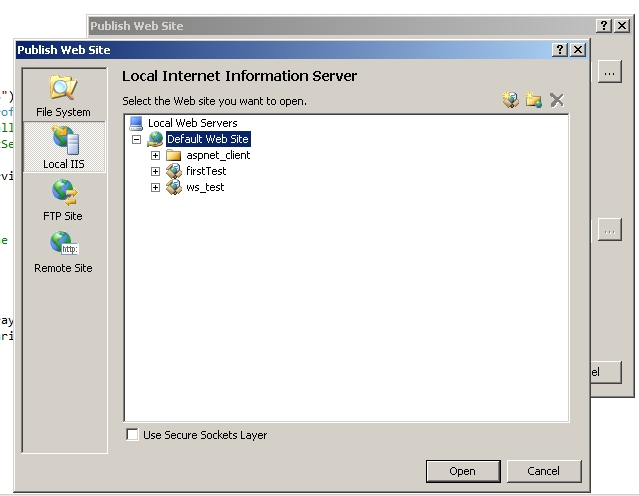
Deployment of Web Service to the IIS

Before deploying the Web Service to the IIS be sure to change the Authentication Mode to “None” in the web.config


Part 2 – Integrating with Genesys URS

Creating a new routing strategy.


Variables


Variable
Description
inputStringforWS
To Pass input into the Web Service block and further passed into the web service
outputfromWS
Receive the output from Web Service Block.
outputString1
First part of the received output form WS
outputString2
First part of the received output form WS


Let’s initialize a variable that we will be passing into the Web service Block


(Please note the Prefix Syntax used above in Method name and Method namespaces)

Web Service URL: The Web service URL

The three following are highlighted in the above snapshot, when we created the Web Service
Method name: “modifyStringtoArray”
Method namespace: “SampleTestWS”
SOAPaction: “SampleTestWS/modifyStringtoArray”
Request Parameters
Key (the variable name of the input in Web Service) and Value (that value we will be passing which is set in the first function of this routing strategy)

Security Tab of the Web Service Block
For this demo we will be using Anonymous Access as HTTP Auth


Result Tab of the Web Service Block
We have only one variable returned (i.e. an array of string)


Now that we are all set sets put exception logging


The final part of reading our output, this way since we have an array of string returned and we know its 2 in count so we can easily use the “ListGetStrig” function.


Before you go executing the Web service and placing test calls, let’s verify that you have done the necessary in URS.

Setting up the URS Application (using CME)
Please verify that you have the Web tab in the Options of the URS which following keys.
Setting up the Web options is a mandatory task and quite helpful in troubleshooting once the HTTP Bridge logs are being created.


[web]
http_log_file=C:\mylogsfolder\URShttpBridge
http_log_size=10000
http_port=8088
log_buffering=false
soap_conn_idle_timeout=15
soap_retry_attempts=3
soap_retry_timeout=10
verbose=3


* http_port be sure to use an unassigned TCP port here.


Part 3 – Executing and Log checking

Let’s put our routing strategy on a route point and place a call to see how things go.


All done, now let’s put a call through and look at the logs

Hurry J we have our excepted response highlight below in light green, following is the URS HTTP Bridge.


Now the Last part of this Post is to verify if the response received from the Web services has reached our Variables in routing strategy (via the URS Logs)


Test Environment Details

For this scenario, I have a Windows 7 Professional Machine (my laptop) and a Genesys running on Virtual Machine running on top of it, details of version are listed below. 
Note that there is no firewall between the two machines (just in case you are struggling with networking)

Versions


Non-Genesys  Components
Version
IIS
7.5.7600.16385
OS (IIS deployed On)
Windows 7 Professional SP 1
SOAP Version
1.1
Visual Studio
2010
Microsoft .NET Framework;
4.0.30319
ASP.NET Version
4.0.30319.34249

Genesys  Components
Version
Framework
8.0
URS
8.0
HTTP Bridge
8.0
IRD
8.0
SIP Server
8.0
Stat Server
8.0


List of Terms
Term
Description
IIS
Internet Information Server (Microsoft)
SP
Service Pack
URS
Universal Routing Server
SOAP
Simple Object Access Protocol
IRD
Interactive Routing Designer
Web Service
SOAP Based Web Service
Web Service block
The IRD Block for calling web service

Saturday, 5 January 2013

VBScript to restrict only one instance of application is running

VBScript to restrict only one instance of application is running

For this example I have used Notepad (notepad.exe)


' Process.vbs
' VBScript to enforce single instance execution of an application
' Date : 5 Jan 2012
' Author : Nauman (Solveso)
' -------------------------------------------------------'

Option Explicit

Dim objWMIService, objProcess, colProcess, objShell
Dim strComputer, strList, strprocess, strprocess1

strComputer = "."

strprocess = "'notepad.exe'"
strprocess1 = "notepad.exe"

Set objWMIService = GetObject("winmgmts:" & "{impersonationLevel=impersonate}!\\" & strComputer & "\root\cimv2")
Set colProcess = objWMIService.ExecQuery("Select * from Win32_Process Where Name = " & strprocess)


For Each objProcess in colProcess
strList = objProcess.Name
Next


if strlist = strprocess1 Then
wscript.echo "Aplication "& strprocess &" is already running, only one instance is allowed, please contact your administrator."
wscript.quit
end if


Set objShell = WScript.CreateObject ("WScript.shell")
objShell.run strprocess1
wscript.quit

<<>>